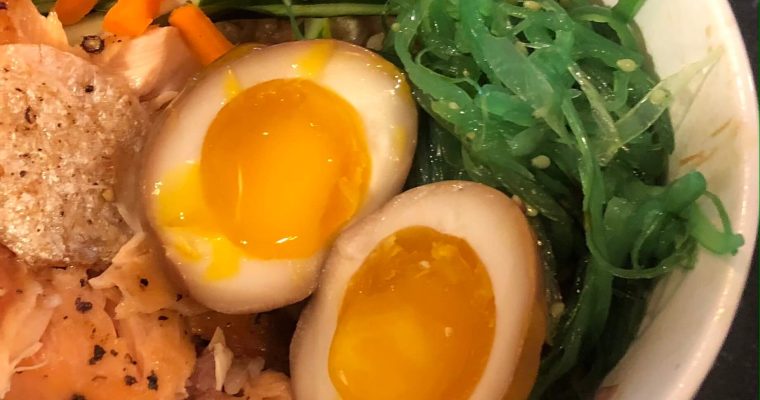
Japanese cuisine is known for its delicate flavors and intricate preparation methods. One dish that perfectly embodies this is the Japanese soy marinated soft-boiled egg. I love making this soft-boiled egg because it can be served as a side dish or as a topping for …
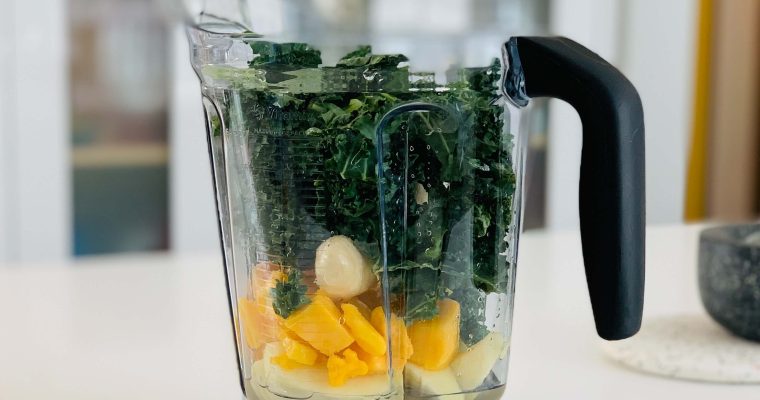
If you like to make smoothies, soups, dips & spreads or yogurt, you will need a good blender. With so many types of blenders available on the market, vacuum blenders are one of the best kinds you should consider buying! On this page, you will …
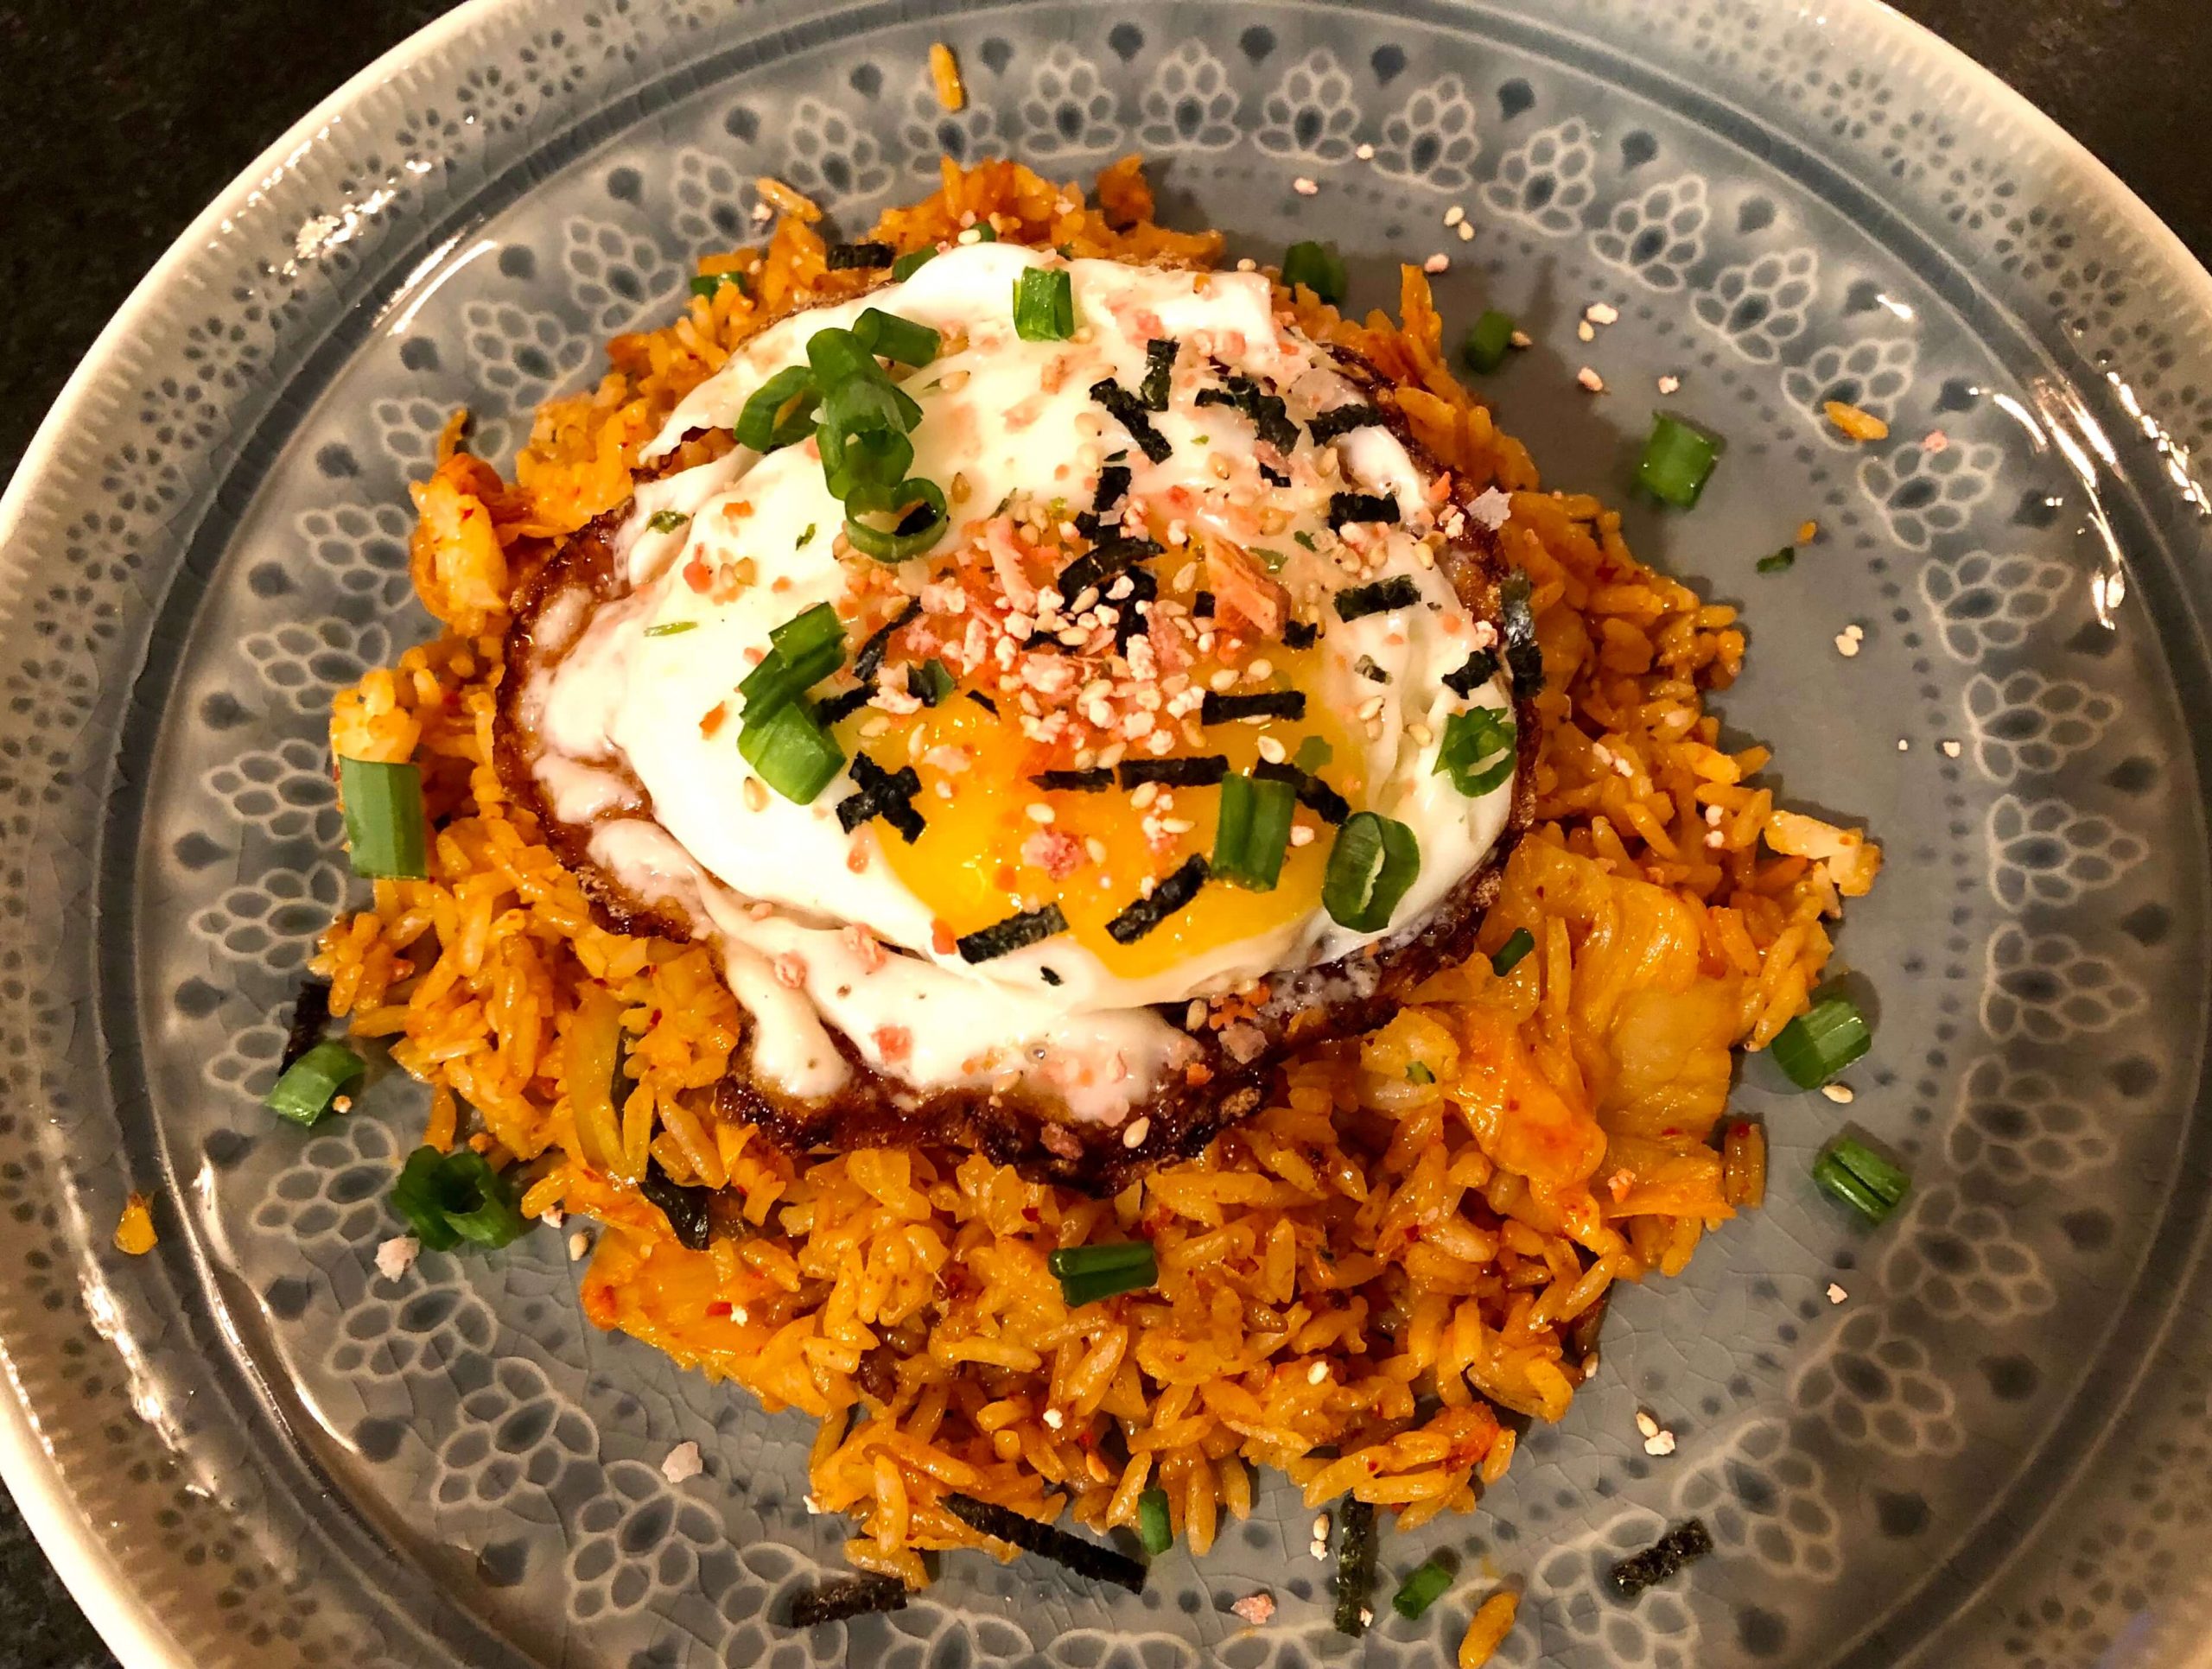
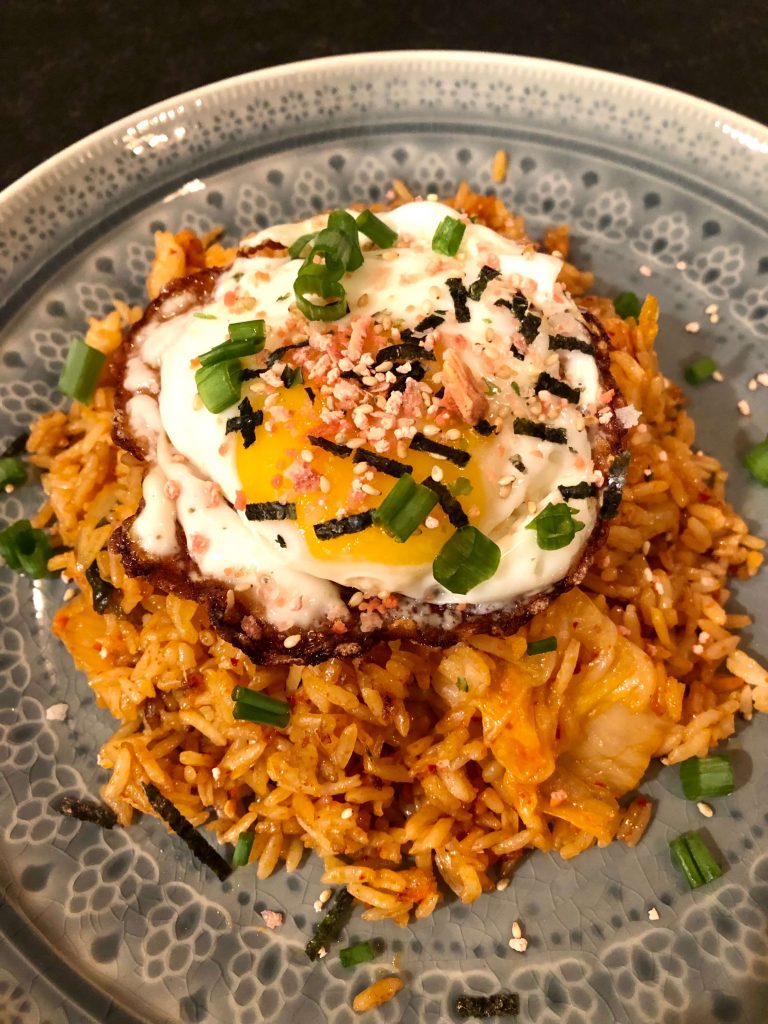
Kimchi Fried Rice is one of my favorite comfort foods. The spice of kimchi, the fluffy fried rice, and a runny egg make a perfect combination of flavors and texture. The best part yet of this dish is that it only takes minutes to make in one pan. The kimchi fried rice is convenient and easy to make on a busy weeknight to give your stomach a warm hearty comfort.
This is recipe is also vegetarian!
Kimchi Fried Rice Ingredients
The ingredients for kimchi fried rice are very simple, so you don’t need to worry about going out to a grocery store to buy a bunch of ingredients for it. The recipe is very flexible too so if you want to add some vegetables you have in your fridge like carrots, mushrooms, or green beans, it’s gonna work very well too!
Anyways, my go-to Kimchi Fried Rice recipe includes five key ingredients:
Overnight rice
Kimchi
Soy Sauce
Eggs
Scallions
The most important part is overnight rice. To make a bowl of good fried rice that is what you will need-not freshly cooked rice but overnight rice. Why? Freshly cooked rice usually is moister and the moist makes it hard to create a slightly dry texture for fried rice. On the contrary, overnight rice is dryer because water evaporates in the fridge. That’s perfect for making kimchi fried rice or any kind of fried rice.
That’s also why Kimchi Fried rice is so convenient to make. You can reuse the leftover rice from one or two days before and turn it into something amazing!
For kimchi, I usually buy a jar of kimchi and keep it in the fridge. Kimchi is basically fermented cabbage and it contains natural probiotics which are excellent for your gut health.
This is a step I want to stress. The leftover rice might stick together in one block when you take it out from the fridge. Obviously, we are not going to just throw a block of rice in the pan. So before cooking, just shake the container that stores your overnight rice to break it up. Or use a spoon to separate it.
Step 2: Fry the egg
Add one tablespoon of vegetable oil to thefrying pan or wok, and fry a sunny-side-up egg over medium heat. Set the fried egg aside for later.
Put the rice in the same pan and stir fry it for about a minute. Then add in the kimchi with some kimchi juice from the jar. Stir fry all ingredients for about 3 minutes and add soy sauce to taste. Don’t forget to keep stirring when you add soy sauce and make sure the rice is evenly coated with the soy sauce.
Step 4: Garnish and Serve
Add the sliced scallion to the pan, stir fry with rice for another minute then serve the Kimchi Fried Rice in a bowl. Put the fried egg on top of the rice and garnish with additional scallion, and your yummy Kimchi Fried Rice is ready!
If you are a perfectionist like me, I have one more secret touch for you! I also like to sprinkle my Furikake seasoningat the end to add some seaweed and a little crunch to my fried rice!
Just four steps you are ready to enjoy a filling and satisfying Kimchi Fried Rice! It’s really perfect for a quick lunch or dinner. I hope you will love this recipe!
Kimchi fried rice with an runny egg on top. Only takes 15 minutes to make.
Cook Time15 minutesmins
Course: Main Course
Cuisine: Asian Fusion
Keyword: asian, fried rice, kimchi, korean food
Servings: 2
Calories: 718kcal
Author: Chefpangcake
Equipment
Frying pan
Ingredients
2cupOvernight Ricecooked
1tbspVegetable Oil
1Large egg
1/2cupKimchi
1tbspKimchi juice
2tbspSoy Sauce
1tbspChopped ScallionGarnish
Furikake seasoningto taste
Instructions
Before cooking, break up the overnight rice by shaking the container and using a spoon. Make sure the leftover rice is not in a block.
In a frying pan, add some vegetable oil and fry the egg to sunny side up. Set aside for later use.
Put the rice to the same pan and stir fry it for about a minute. Then add in the kimchi with some kimchi juice from the jar. Stir fry all ingredients for about 3 minutes.
Add in the soy sauce and mix well with the rice.
Add in the chopped scallion to the rice, turn off heat.
Serve the rice in a bowl or plate, top with the fried egg and Furikake seasoning.
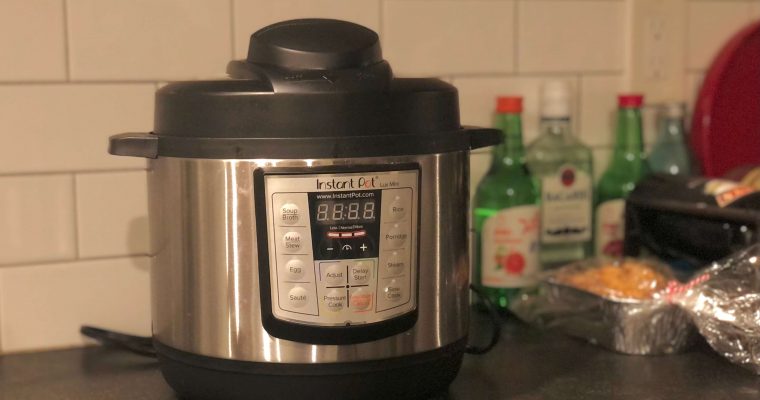
Since you have landed on this page, I am going to assume that you have heard of the beauty of the Instant Pot. It cooks fast, it saves time and it comes with so many functions. You can use it to sear, fry, steam, poach …
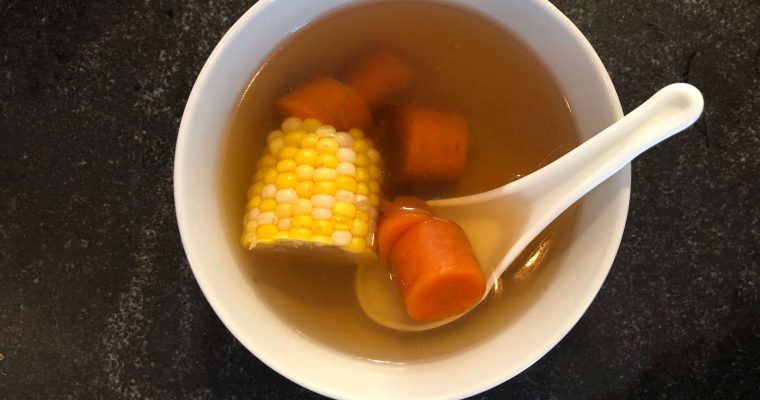
The sweet carrot and corn soup is a very classic Cantonese soup that my family would make every week. Why? For Cantonese people, we believe that soup has many health benefits because the soup concentrates all the nutrients of the ingredients. The Carrot and Corn …
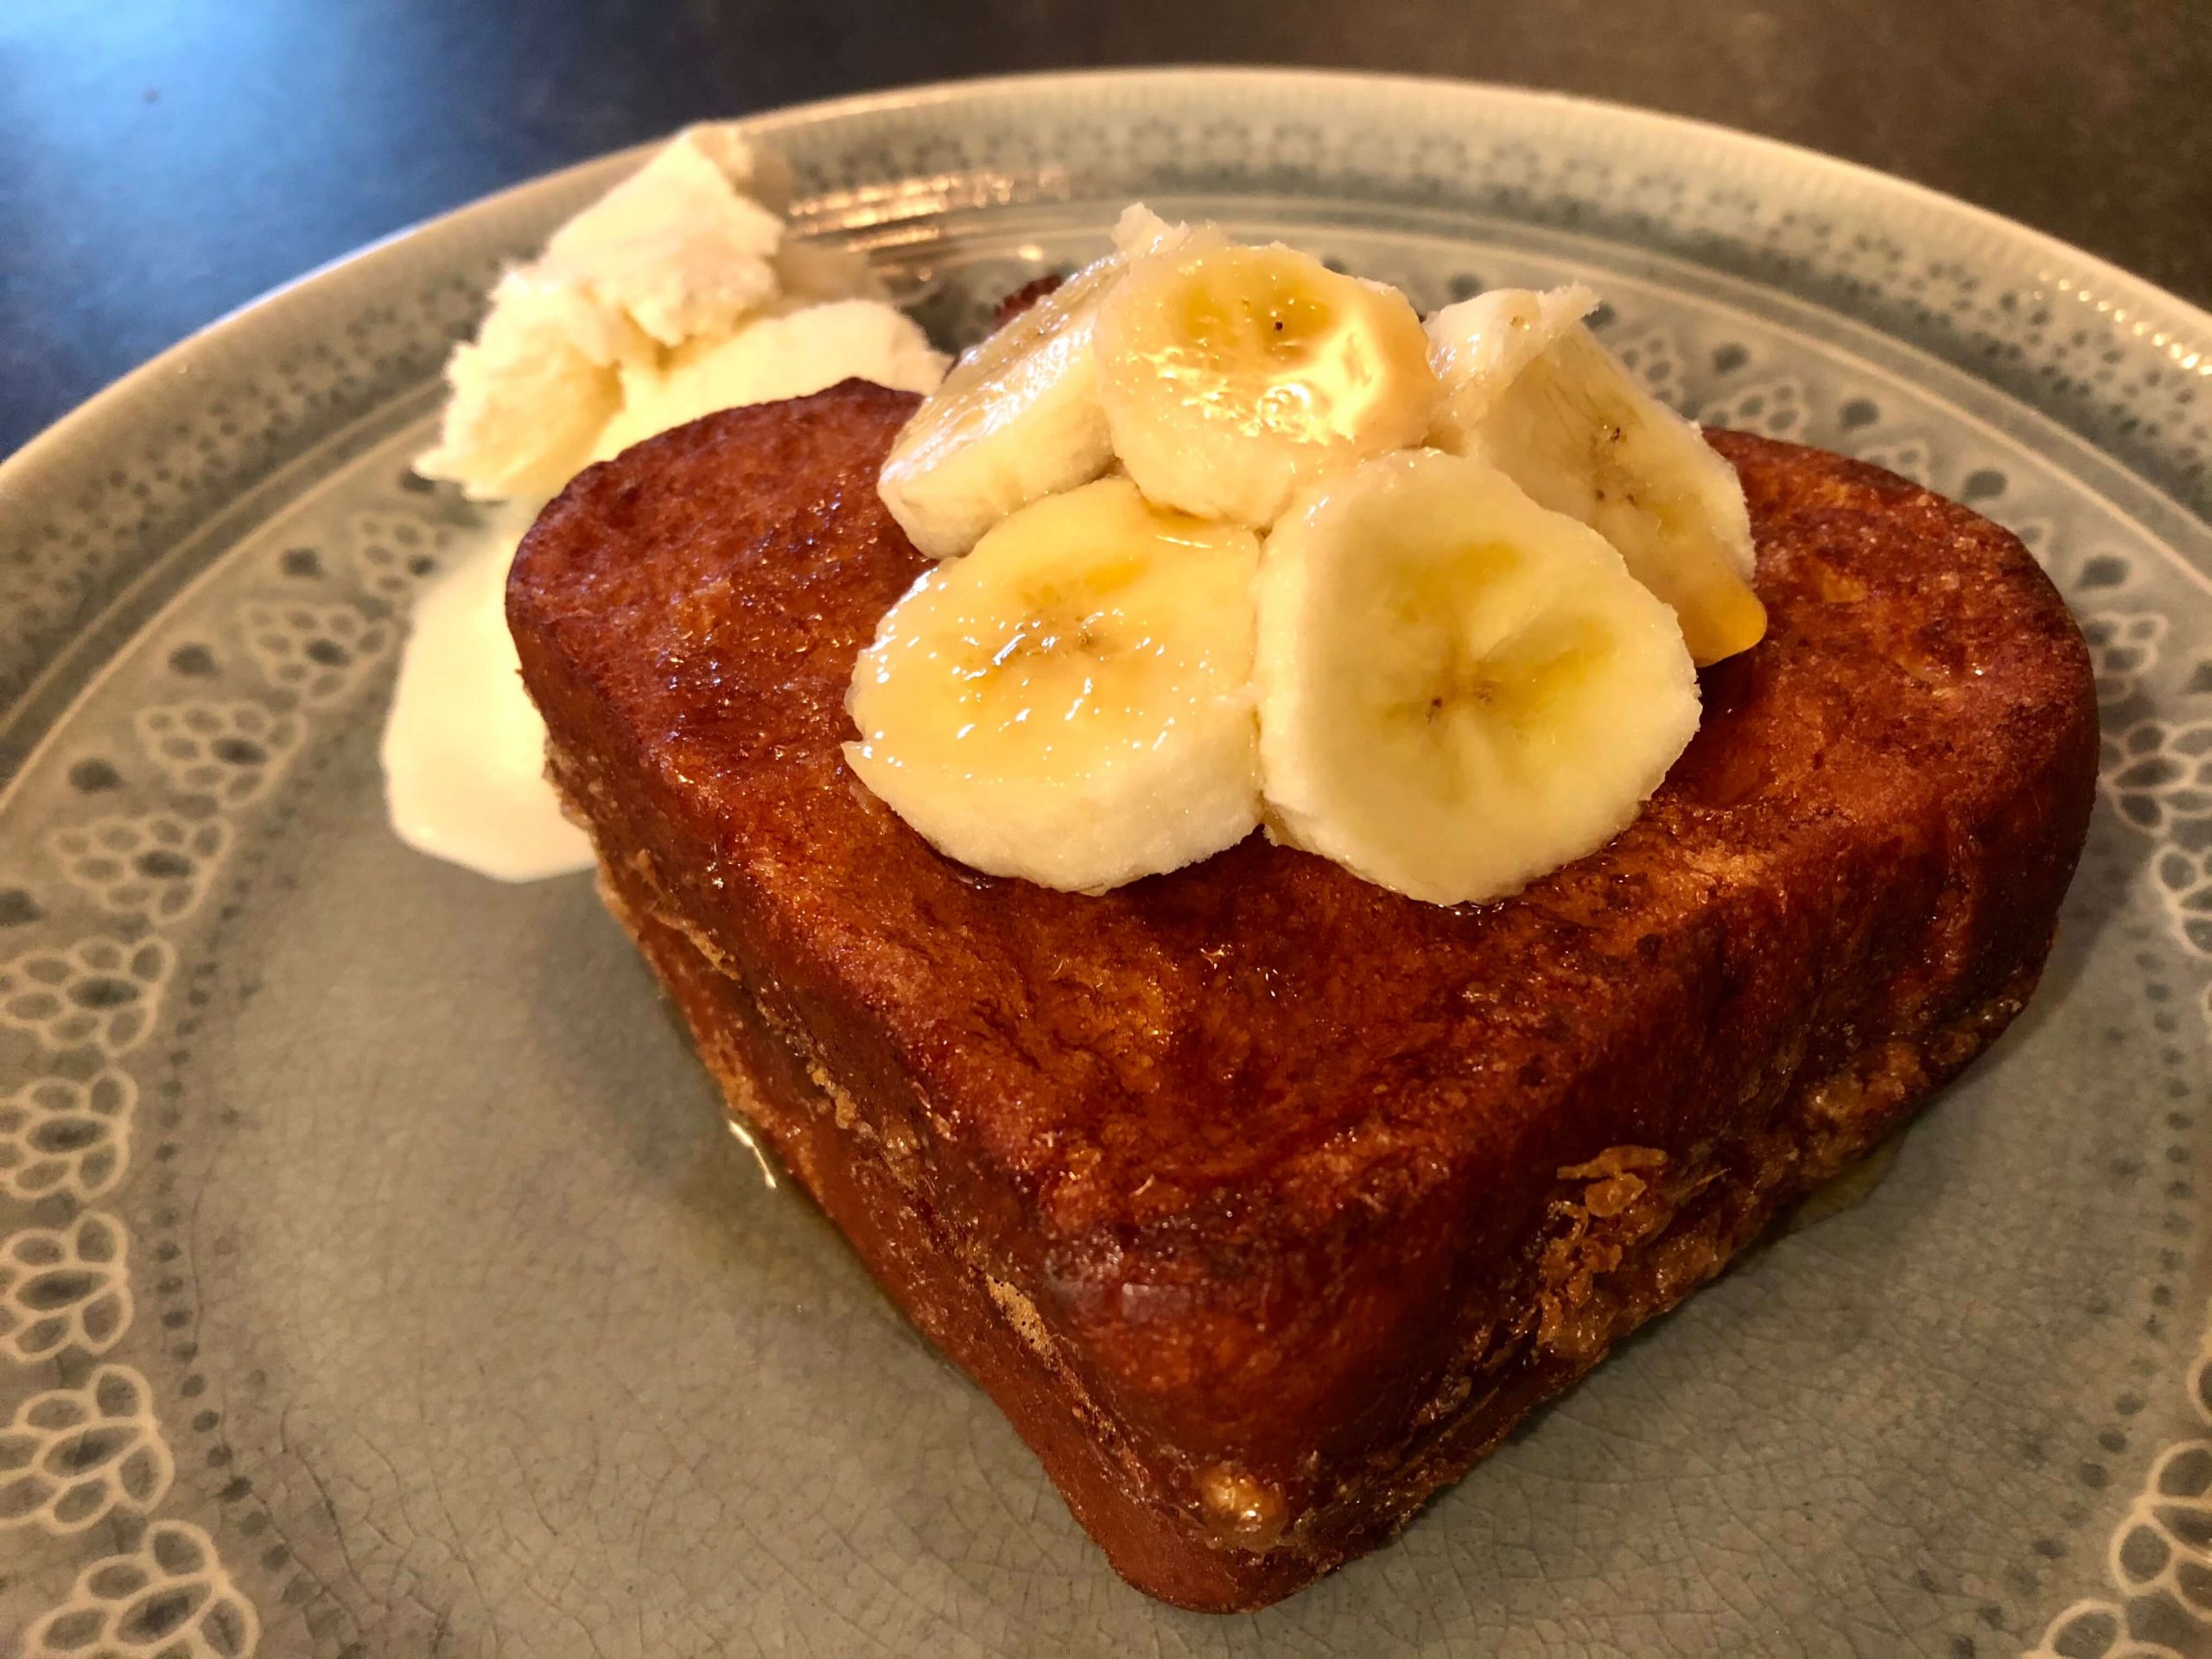
For breakfast, brunch, or afternoon dessert, french toast is a good choice. Hong Kong style french toast, especially, is my favorite. It is a deep-fried milky, buttery, and sweet sandwich stuffed with banana and peanut butter.
I love this type of french toast since I was a kid. It is such an indulging dish from Cha Chaan Tengs (Hong Kong-style cafes). I love pairing it with hong kong style milk tea or an iced lemon black tea.
What Do You Need to Make Hong Kong Style French Toast?
Just like making regular french toasts, the main ingredient for Hong Kong Style Stuffed French Toast is bread. However, what’s special about HK french toasts is that the bread is usually very thick and soft. So far, I have tried using different types of bread, and the one that makes the best texture is brioche. Being light and puffy with a decent thickness and it is rich sweetness, brioche works great for tenderly delicious HK style french toasts.
Besides the bread, the ingredients for the stuffings are crucial to create a sweet and nutty flavor as well. For the stuffing, I usually prefer to use banana and peanut butter. It’s even better if the peanut butter is crunchy with some crushed peanuts. It will add some nice crunchiness to the french toasts.
Of course, we also need cooking oil for deep frying, egg, and milk for the egg mixture.
How to Make a Perfect HK Style French Toast
I have tried a few different methods to make Hong Kong French Toast and I found out that only deep-frying can make it crunchy on the outside and soft inside. I know, deep flying can sound a little intimidating, but I am going to share some tips and make it easier for you.
Step 1: Stuffing
The first step is very easy. You just need to spread the peanut butter on the bread and put a few thin banana slices on the bread. Then, put two pieces of bread together and give it a gentle press to make sure they stick together just like a sandwich.
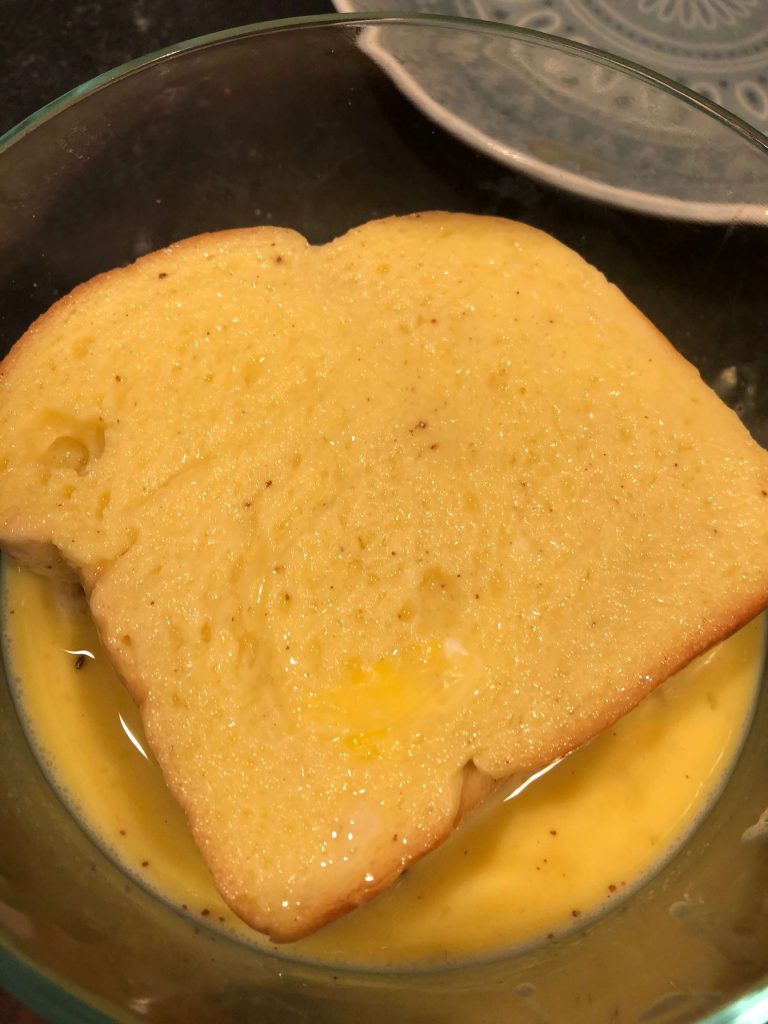
Step 2: Soak the Bread in Egg Mixture
After making the sandwiches, we need to soak them in the egg mixture. We will need to beat three eggs and mix with two tablespoons of milk. Next, we will dip the peanut butter sandwich in the mixture. In this step, the important thing it’s to make sure the bread is nicely coated with the mixture, but not too soggy, otherwise, your french toast would fall apart very easily.
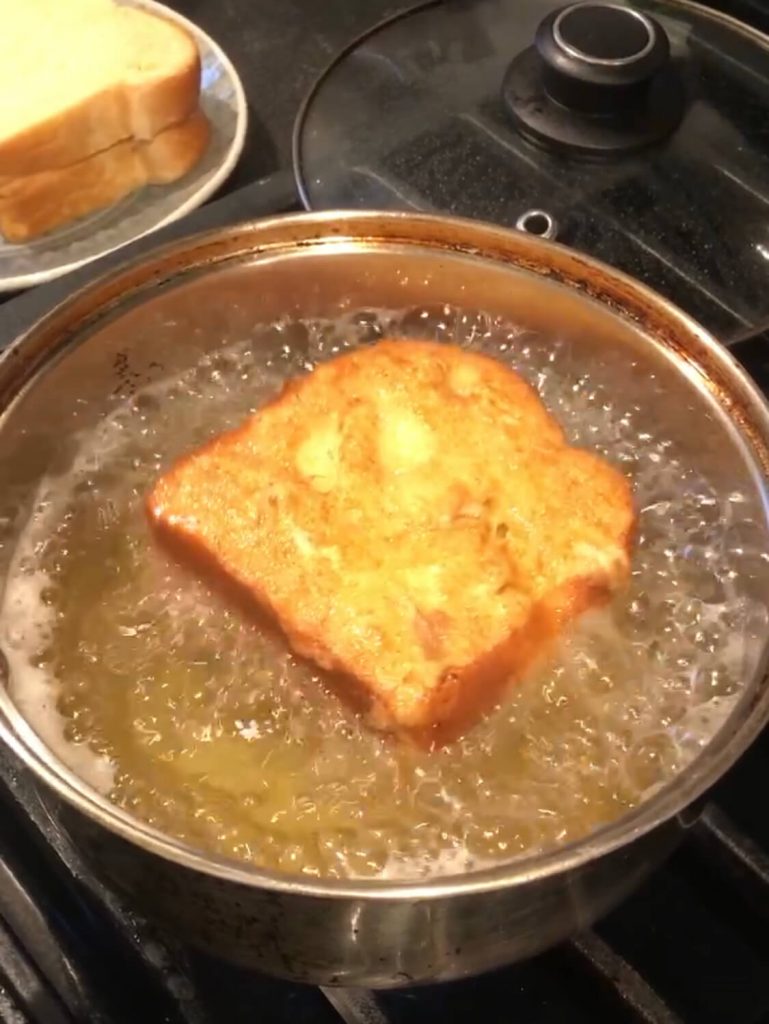
Step 3: Deep Fry in Cooking Oil
When deep-frying, there are a few things we should pay attention to:
Make sure your sauce pan is dry before putting in cooking oil. This is something we need to remember when deep frying because hot oil and cold water are a dangerous mix. I am not going to explain the chemistry part of it but It could catch on fire. As long as you make sure everything is dry, you are good to go! Don’t worry it’s not as difficult as it may seem.
Ok, now we pour the cooking oil into the pot and heat it up over medium-high heat. Before we fry the bread in the oil let’s make sure the oil is hot enough. If the oil is not at the right temperature, it could either burn your bread or make your bread too soggy. So how do we do that? You don’t have a food thermometer at home? No problem, me neither. What I do is to put a wooden stick/chopstick in the hot oil, once you see there are bubbles gather around the stick, the oil is hot enough. Wait no more and just put your french toast in the oil.
Fry the french toast one side at a time for about 30 seconds until golden and crispy then turn it over and fry the other side. Then put the french toast on a paper towel to soak the extra oil.
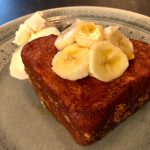
Hong Kong French Toast Topping Options
Let’s get some of your favorite fruits perhaps strawberries or raspberries to make a delightful topping for your french toasts. I like to put the rest of the banana slices or strawberry and drizzle condensed milk on top. You could top it with any fruit, ice cream, and any syrup you like.
Can I Make It with Other Stuffing?
Now you know all the secrets about making a perfect Hong Kong Style French Toast! If you get bored of peanut butter and banana, you can surely make the french toast with other stuffing. My other favorite stuffing combo is Nutella and strawberry! Let me know how you like your Hong Kong French Toast!
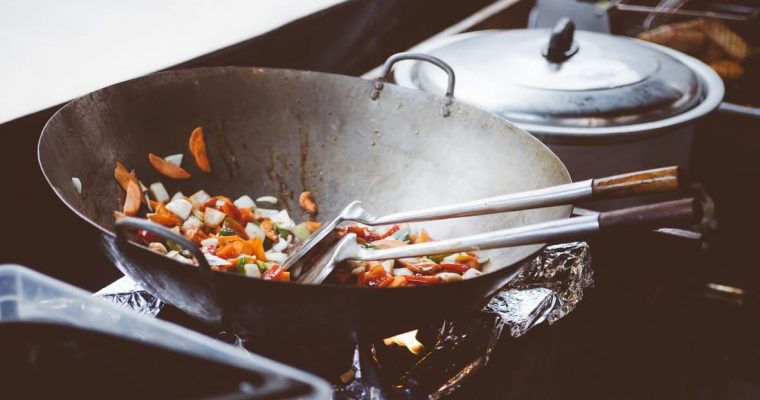
Are you looking for some new kitchen gadgets to buy? Good! We are looking into some woks too. As we research, we realized that woks come in a variety of styles, but can they work on electric stoves? With this question, we dug deeper to …
If you have been following my blog for a while, you might notice that I switched from using a non-stick pan to a Lodge Cast Iron pan for most of my dinners. I got my first cast iron pan as a Christmas gift and I …
Are you a busy bee? Not enough time to cook breakfast in the morning? With the work-from-home routine, we need to cook so much more than we did before. That’s why I want to share this amazing breakfast egg wrap recipe with you to save you more time in cooking.
Instead of going to Dunkin and get your regular breakfast wrap, you could just follow this recipe and spend less than 10 minutes in the morning to make an awesome breakfast for two!
I got inspired by watching the Netflix cooking show called Nadiya’s Time to Eat. She has some incredibly simple and yummy recipes. I love her show if you would like to check it out. In one of the episodes, she introduces her Crispy Tortilla Egg Rolls with mushrooms, olives, and tomato paste. I was so intrigued to try the recipe out but as you may know, I kind of make everything Asian fusion. So I made up my own recipe for this Breakfast Egg Wraps based on Nadiya’s.
Ingredients List
It doesn’t need many things to cook these saucy, crispy egg wraps. Some key ingredients I would like to point out though hoisin sauce, garlic pepper powder, and scallion. Hoisin sauce and scallions complement the egg wraps with some special Asian touch.
cooking oil
2 tbsp
chopped scallion
½ tbsp
tortilla wraps
2
hoisin sauce
2 tbsp
eggs
4
water
1 tbsp
salt
½ tsp
Garlic Pepper Powder
2 tsp
How to Make Breakfast Egg Wrap Less Than 10 mins
The recipe is for two servings and we will cook one egg wrap at a time. So you will use half of the ingredients for each wrap.
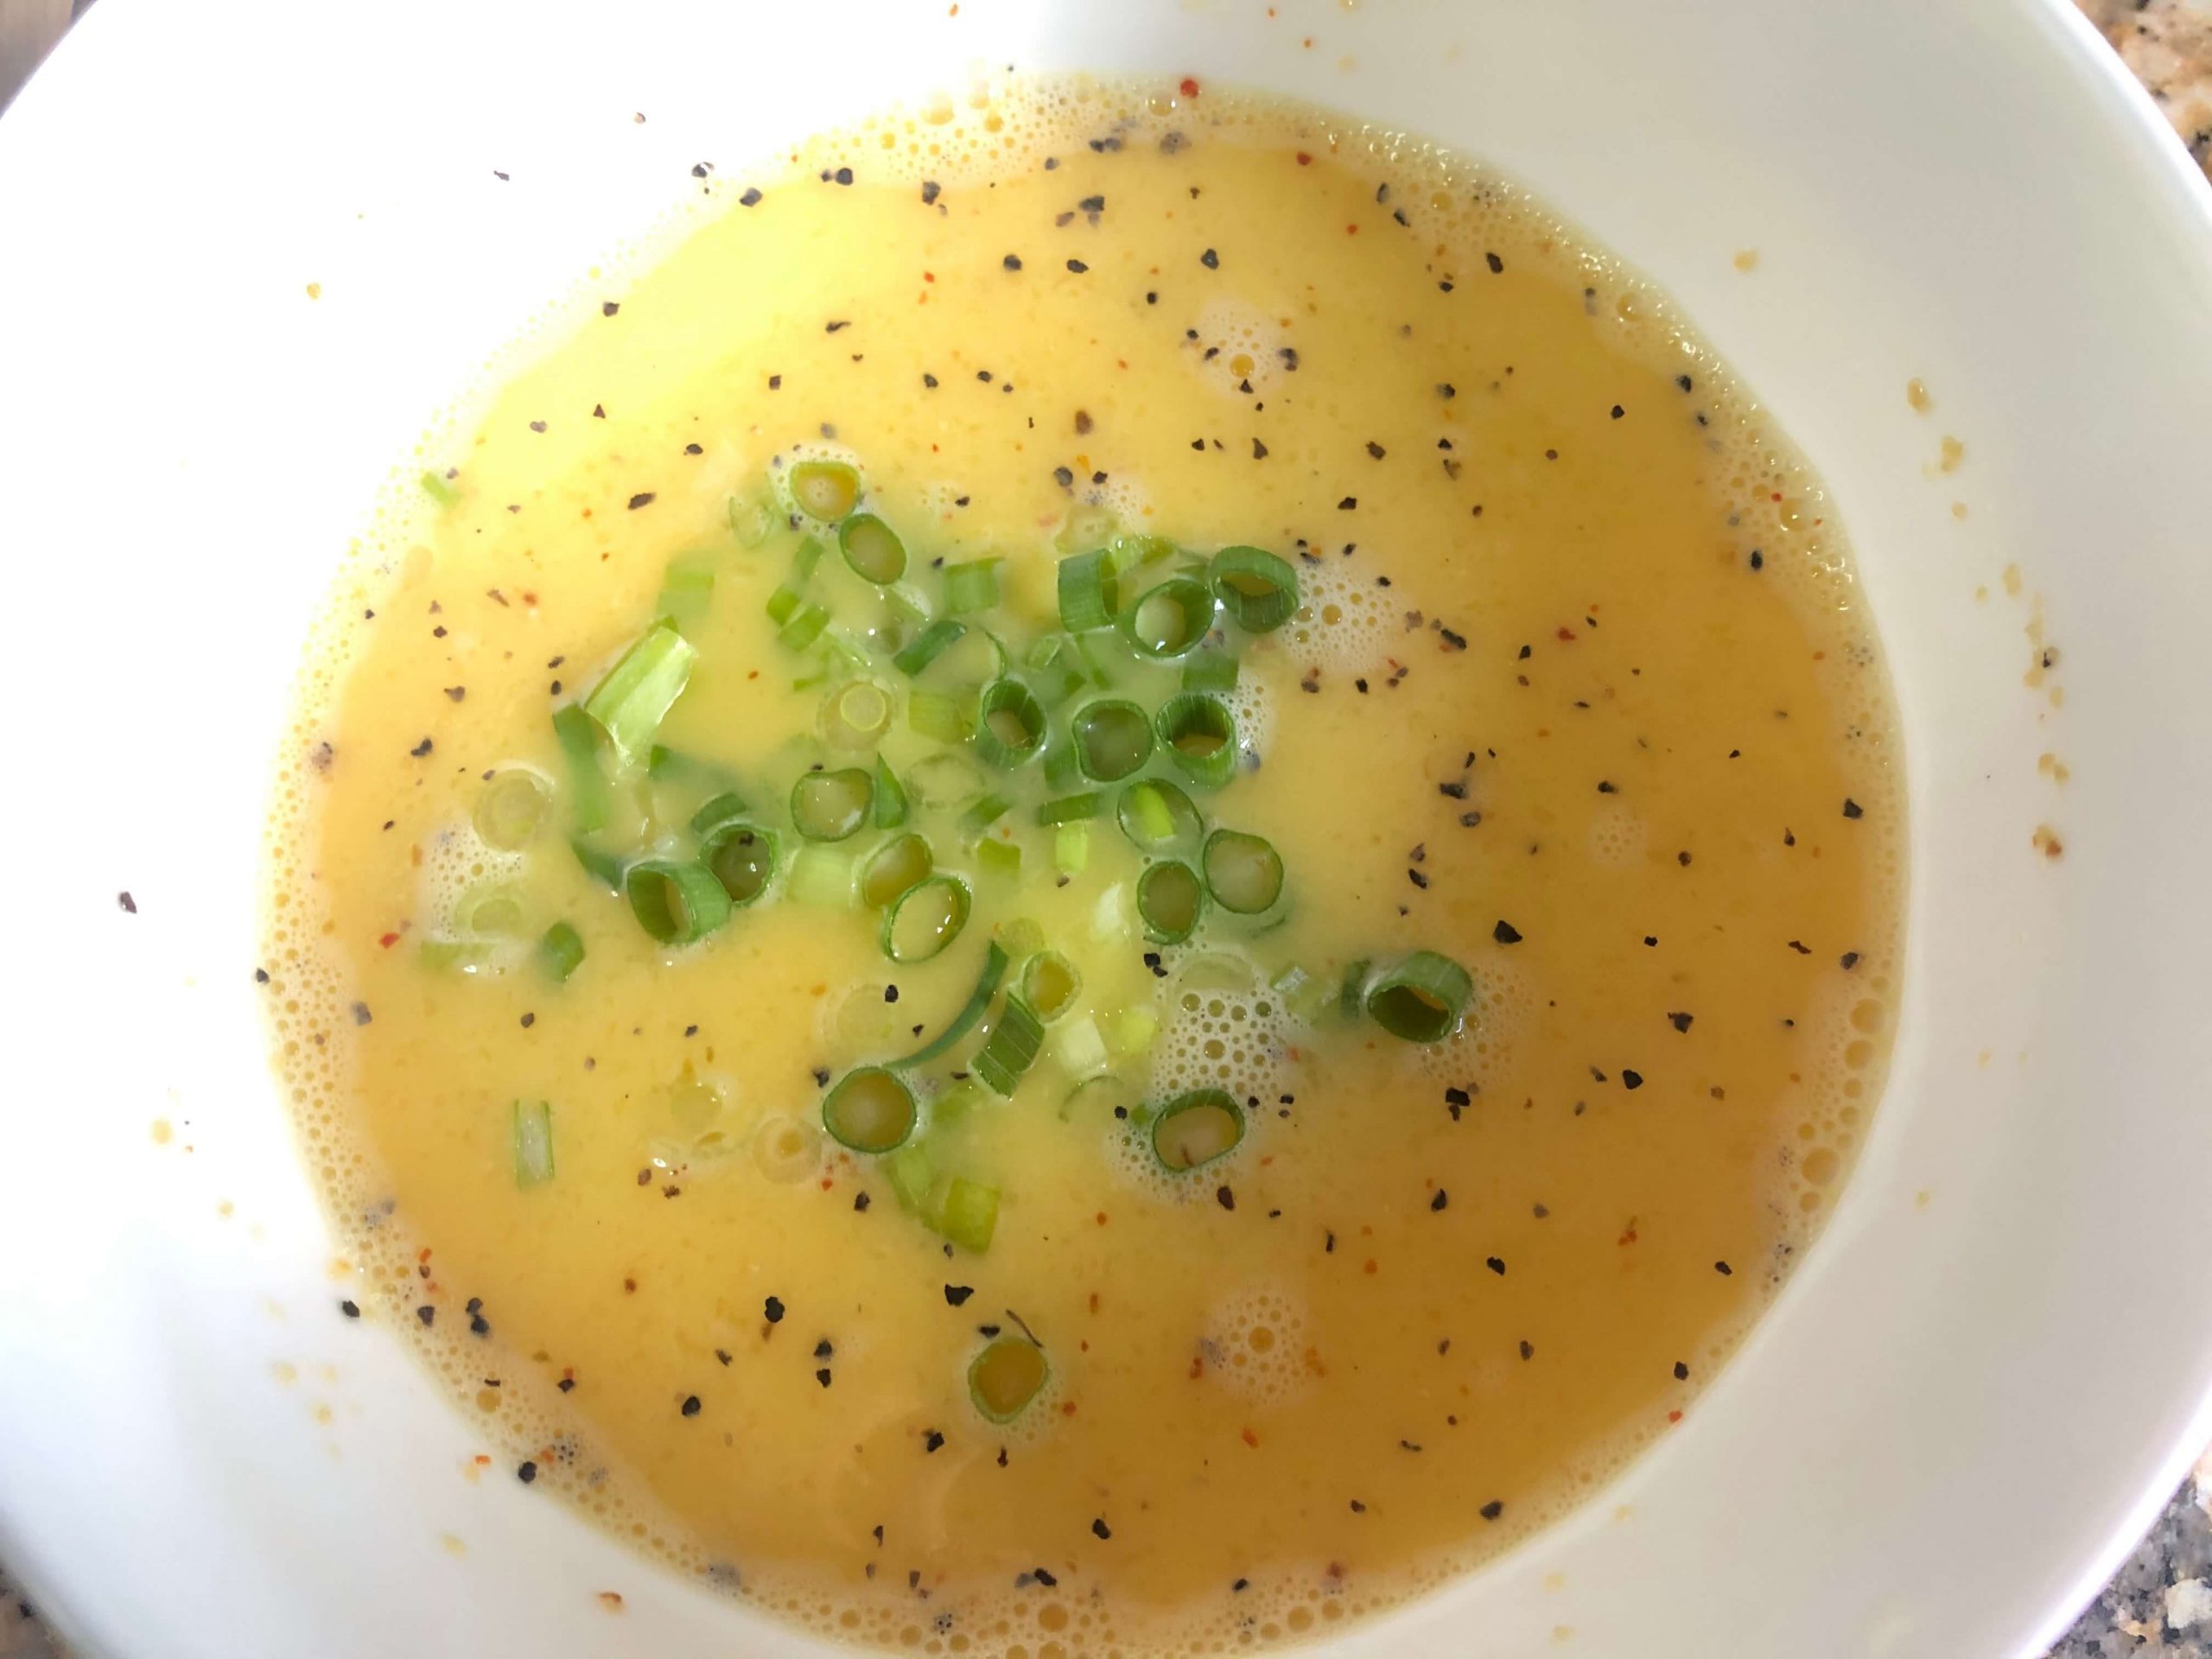
Step 1: Prepping the eggs (3 minutes)
This is not going to take long: in a bowl, beat 4 eggs and mix them with 1 tbsp water, ½ tsp salt, and 2 tsp garlic pepper powder. Also, put the scallions in at the end. Using garlic pepper powder can save us so much time cutting fresh garlic, and it gives our eggs an instant flavor boost.
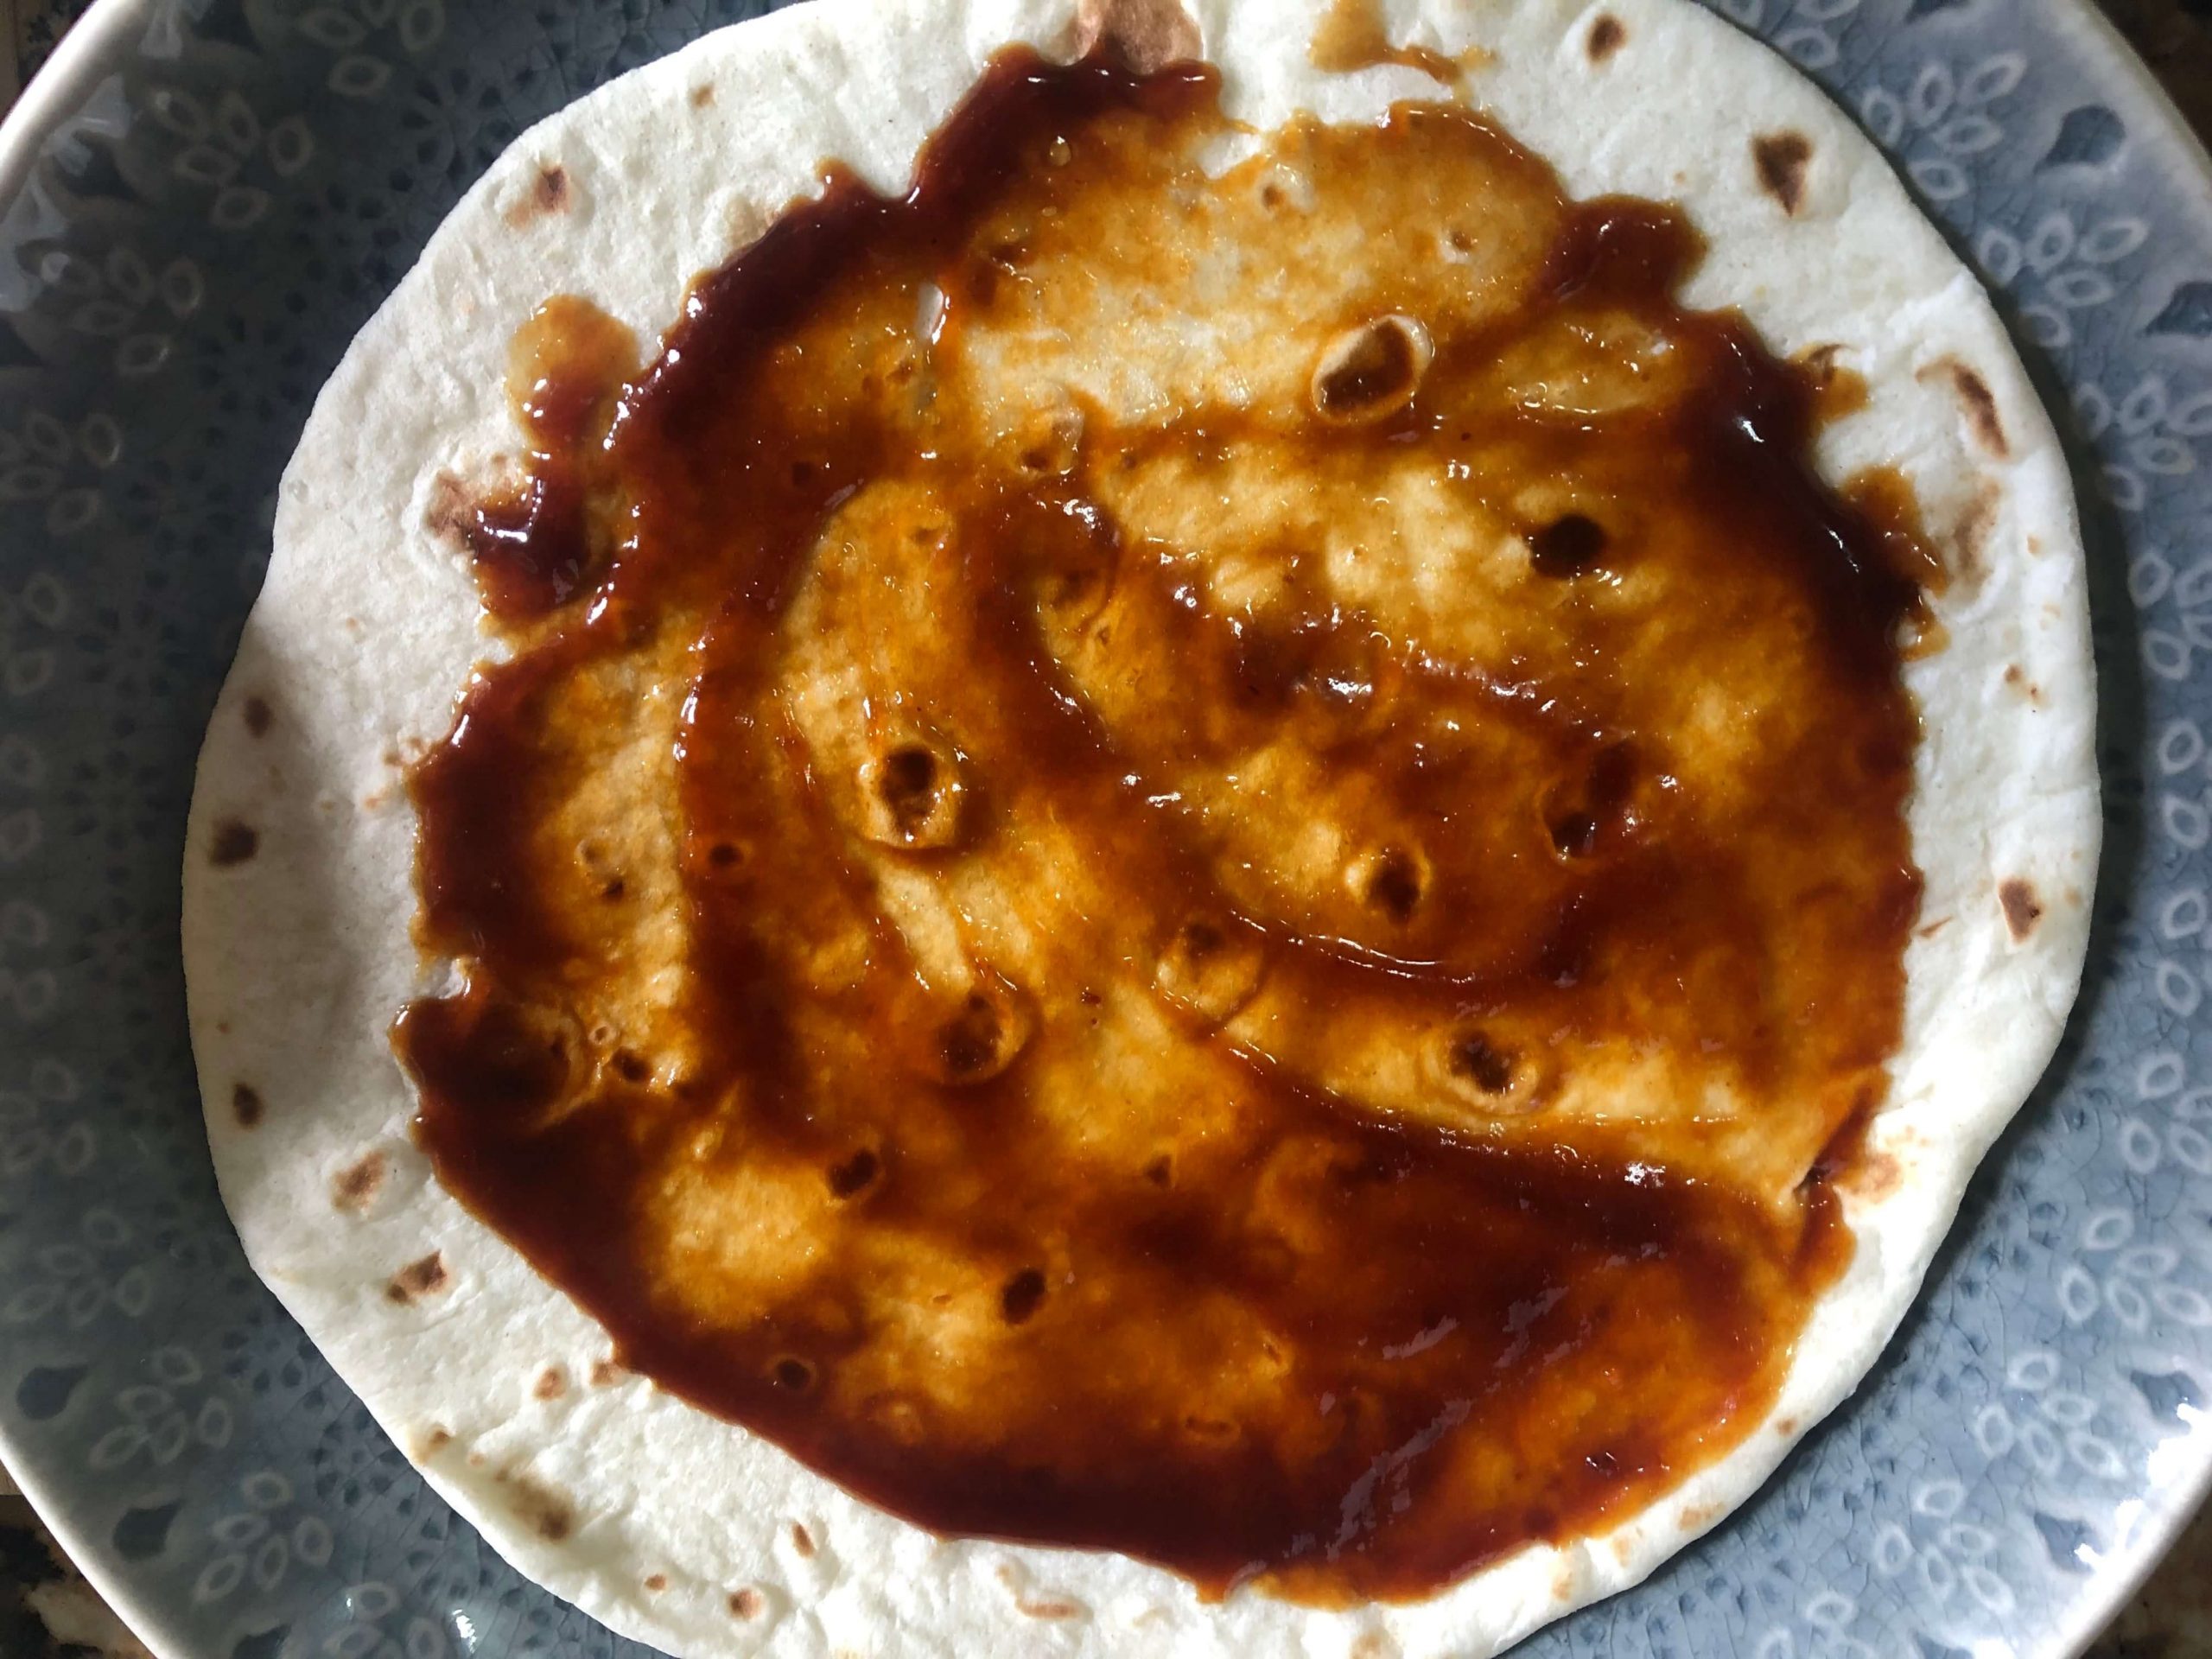
Step 2: Hoisin Sauce on the Wrap (1 minute)
Next, take one tbsp hoisin sauce and spread it on the wrap. Hoisin sauce it’s going to make your breakfast wraps packed with sweet and savory flavor.
Spread hoisin sauce on the tortilla
Step 3: Cooking the Breakfast Egg Wrap (3 minutes each)
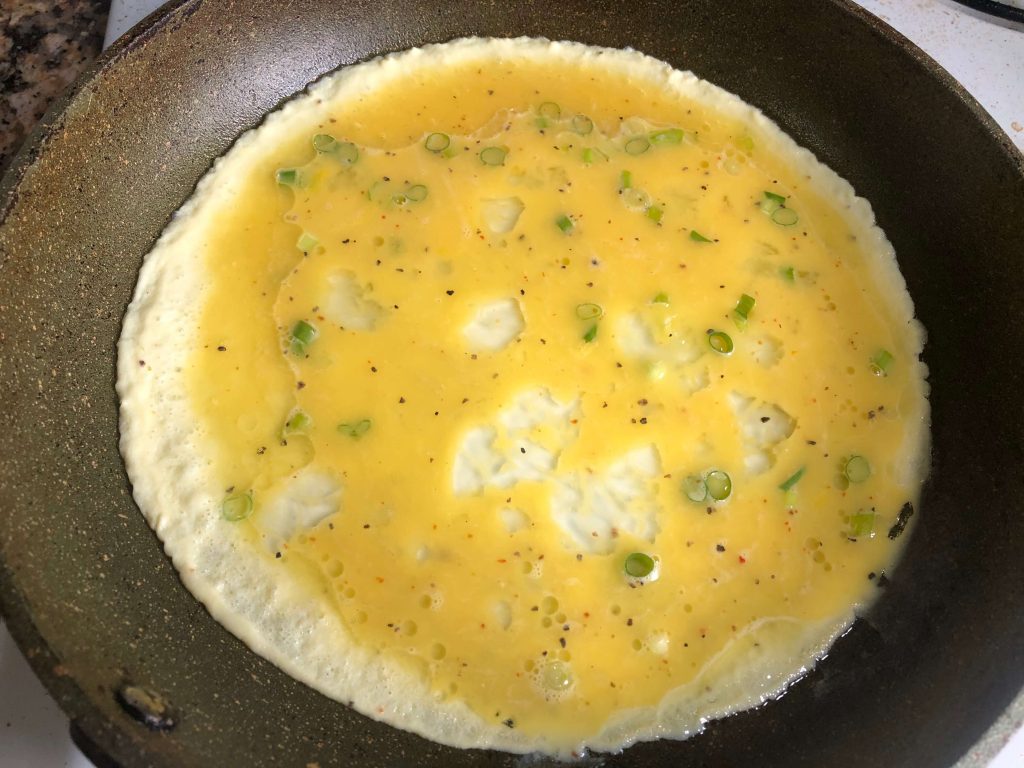
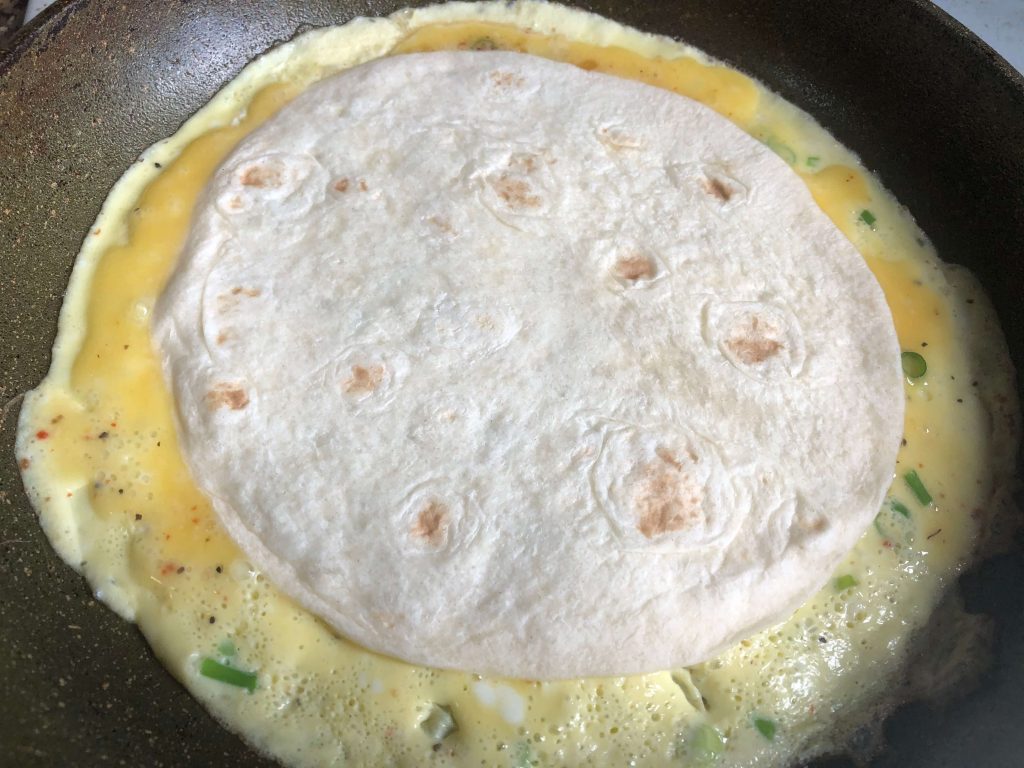
Eggs take only a few minutes to cook. That’s why I love this so much on a busy work from home day. In a frying pan, add some cooking oil and cook half of the beaten eggs over medium heat, for about 30 seconds. While the egg is still cooking and liquidy, stick the tortilla on top of it, the sauce side down. Use your finger to glue the tortilla to the egg.
After the egg is being cooked for another 30 seconds – 1 minute, flip it over and cook for another 30 seconds.
Cook the eggs in the pan
Glue the tortilla on top
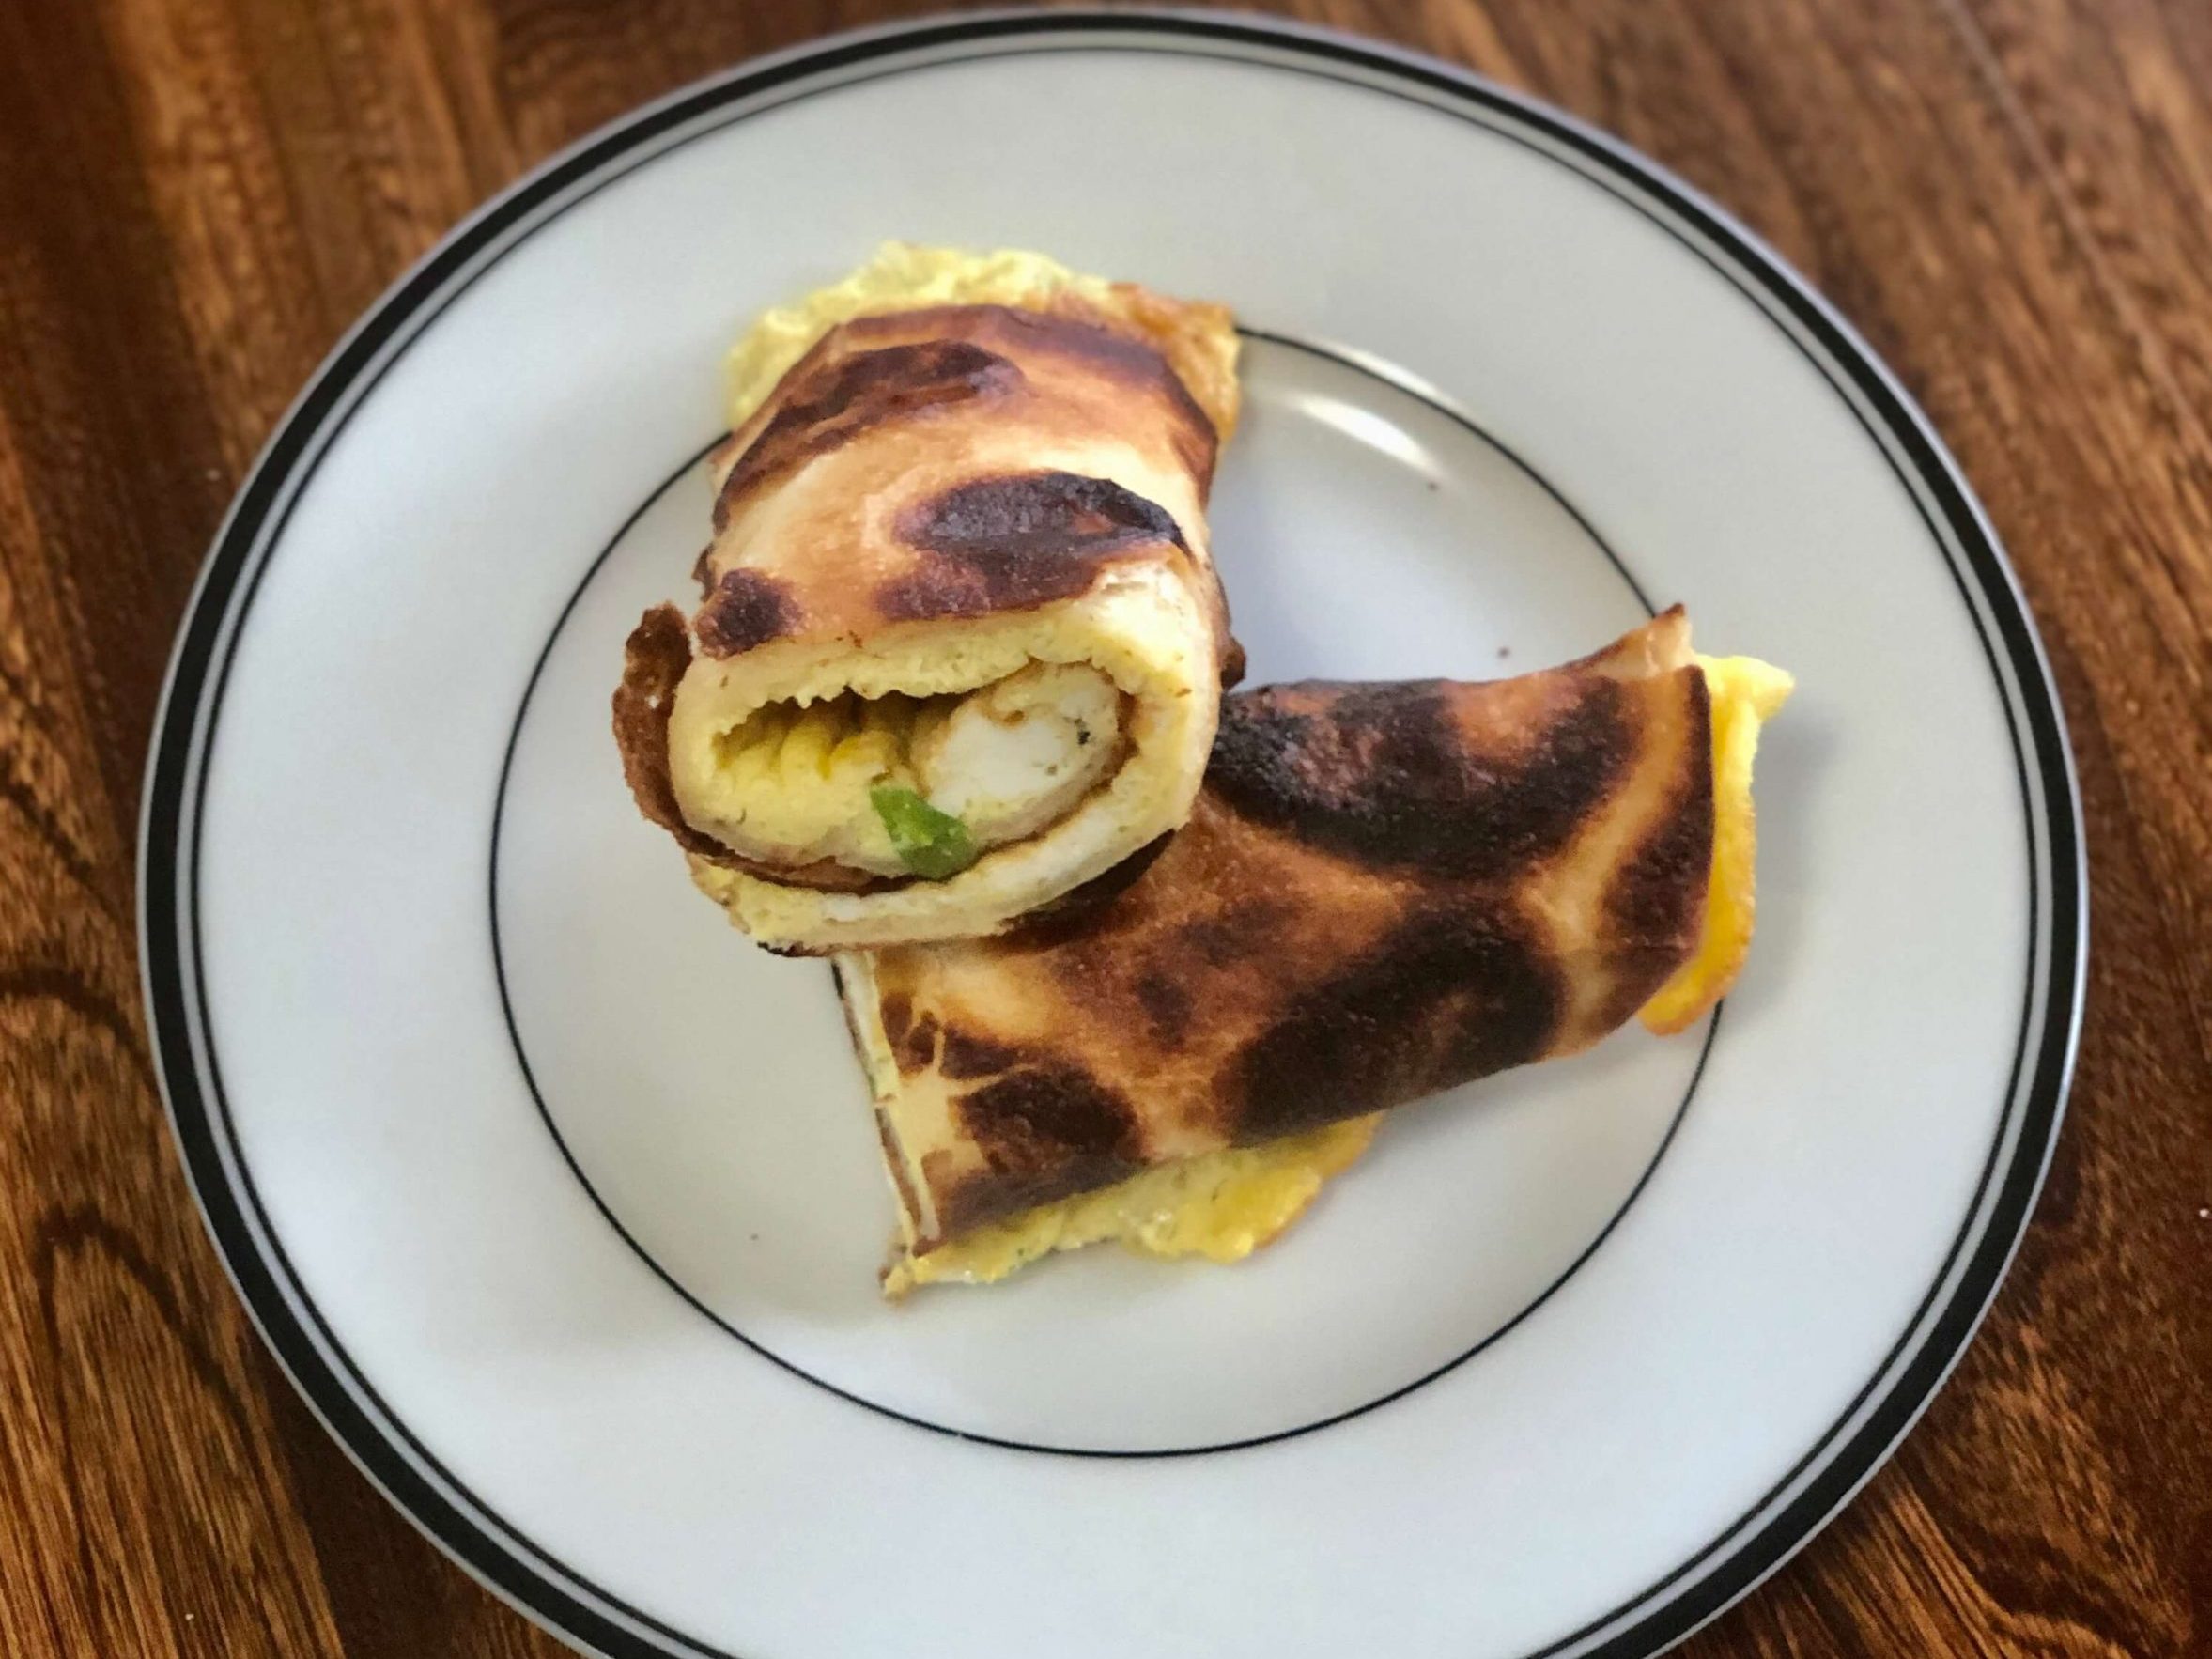
Step 4: Roll the Tortilla
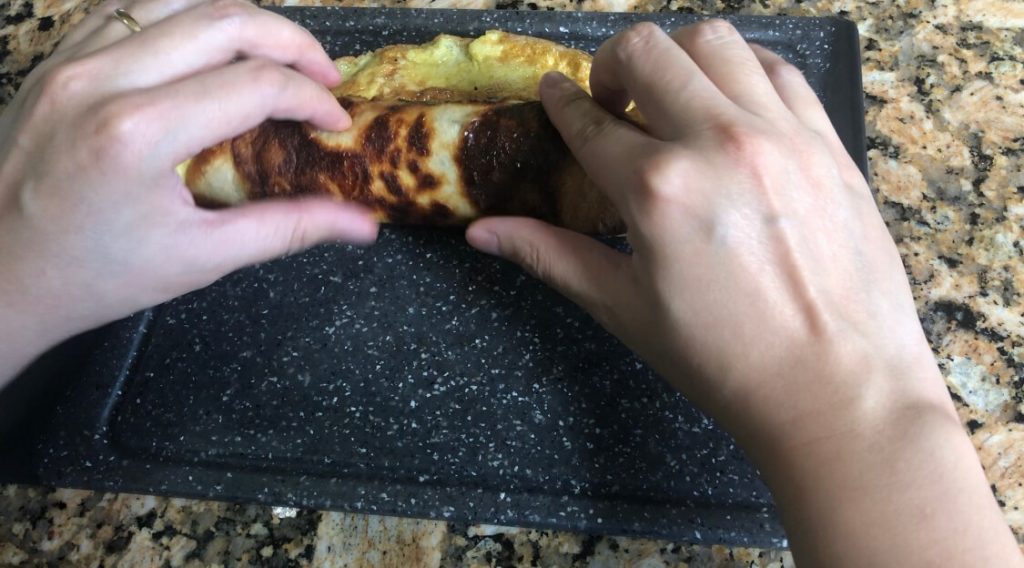
Take the tortilla and egg out of the pan and cool it down on a plate or cutting board. Then roll it tightly with the tortilla side out. Cut it in half, serve with your favorite breakfast beverage! Repeat step 3 for the second roll with the other half of the ingredients.
Roll the Breakfast Egg Wrap tightly
What Else Can You Put in the Egg Wrap?
This recipe is so flexible and it gives you so much room for creativity. Just use your favorite breakfast combo: bacon, mushrooms, cheese, spinach… Bacon and spinach in the egg roll would be my jam! Just put bacon in the frying pan first, then pour the beaten eggs in and add spinach. Then glue the tortilla on top! Voila, that sounds amazing already! I might try that next time!
You could change up the sauce too! I used hoisin sauce to spread on the tortilla because it complements the eggs and garlic flavor so much. Hoisin sauce gives the egg wraps that amazing umami. I also recommend you adding some Sriracha sauce if you are a spicy food lover. Just mix some sriracha with the hoisin sauce and spread it on the tortilla. That sounds mouth-watering!
What other ingredients would you put in? Tell me in the comment!
A quick and easy breakfast egg wrap recipe for busy bees in the morning. It only takes 10 minutes to cook!
Prep Time3 minutesmins
Cook Time7 minutesmins
Course: Breakfast
Cuisine: Asian Fusion
Keyword: breakfast wrap, egg roll, eggs, tortilla
Servings: 2
Calories: 331kcal
Author: Chefpangcake
Ingredients
2tbspcooking oil
1/2tbspchopped scallion
2tortilla wraps
2tbsphoisin sauce
4large eggs
1tbspwater
1/2tspsalt
2tspgarlic pepper powder
Instructions
Beat four eggs in a bowl
Mix the beaten eggs with water, salt, garlic pepper powder, and scallion
Spread 1 tbsp hoisin sauce on each tortilla wrap
In a saute pan, add some cooking oil and cook the half of the beaten eggs over medium heat, for about 30 seconds
While the egg is still cooking and liquidy, stick the tortilla on top of it, the sauce side down. Use your fingers to make sure the tortilla is sticking to the egg.
After the egg is being cooked for about 30 seconds, flip it over and cook for another 30 seconds with the tortilla side down
Take the egg and tortilla out of the pan, cool down a little and then roll it tightly like a burrito
Repeat the step 4-7 for the second breakfast egg wrap
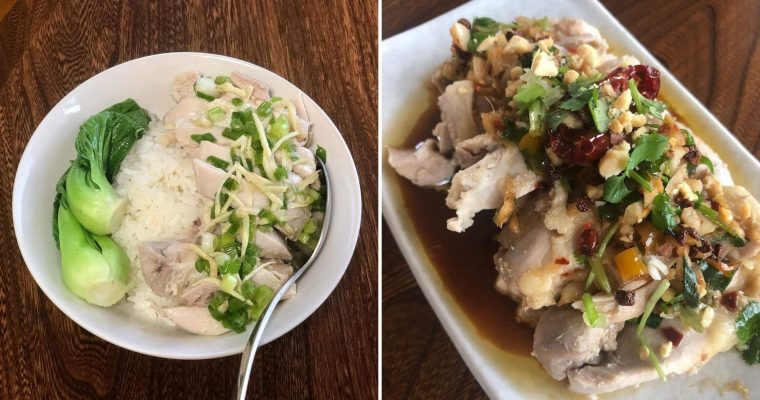
Having been born and raised in Guangzhou, I can say that I grew up with Chinese Poached Chicken. It is the most classic dish in Guangzhou and it’s always on the dinner table when there is a family gathering. Chinese Poached Chicken in 2 Styles …